Lab 5: MySQL
Instructions
In this lab, we will learn how to use MySQL.
We will create a database and a table.
In this week's lab, you must design you database on paper first.
Then, you will create it using phpMyAdmin.
I. Load MySQL
To use MySQL, we need to install XAMPP. XAMPP is a free and open-source cross-platform web server solution
stack.
It consists mainly of the Apache HTTP Server, MariaDB database, and interpreters for scripts written in the
PHP.
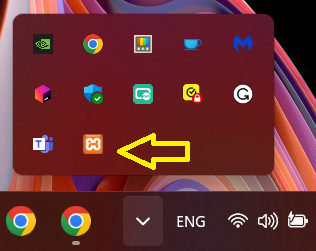
First, we start XAMPP. On windows, we can find it in the start menu.
Then, we double click on the XAMPP tray icon to load the XAMPP control panel (see figure below).
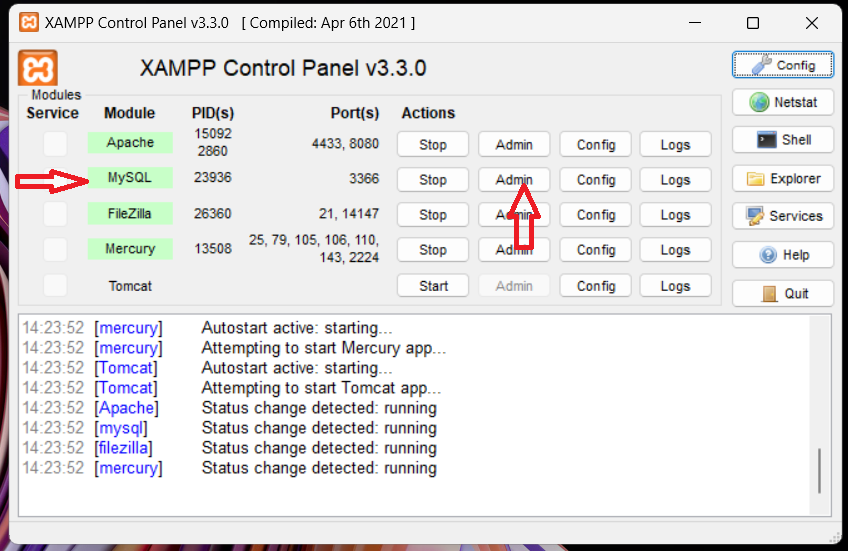
On the XAMPP control panel, we first check that MySQL is runing (green). If not we have to start it using
the
start button. In the figure below we cannot see the start button because it is already runing.
Then, we click on the admin button to open the phpMyAdmin page.
II. Create a database
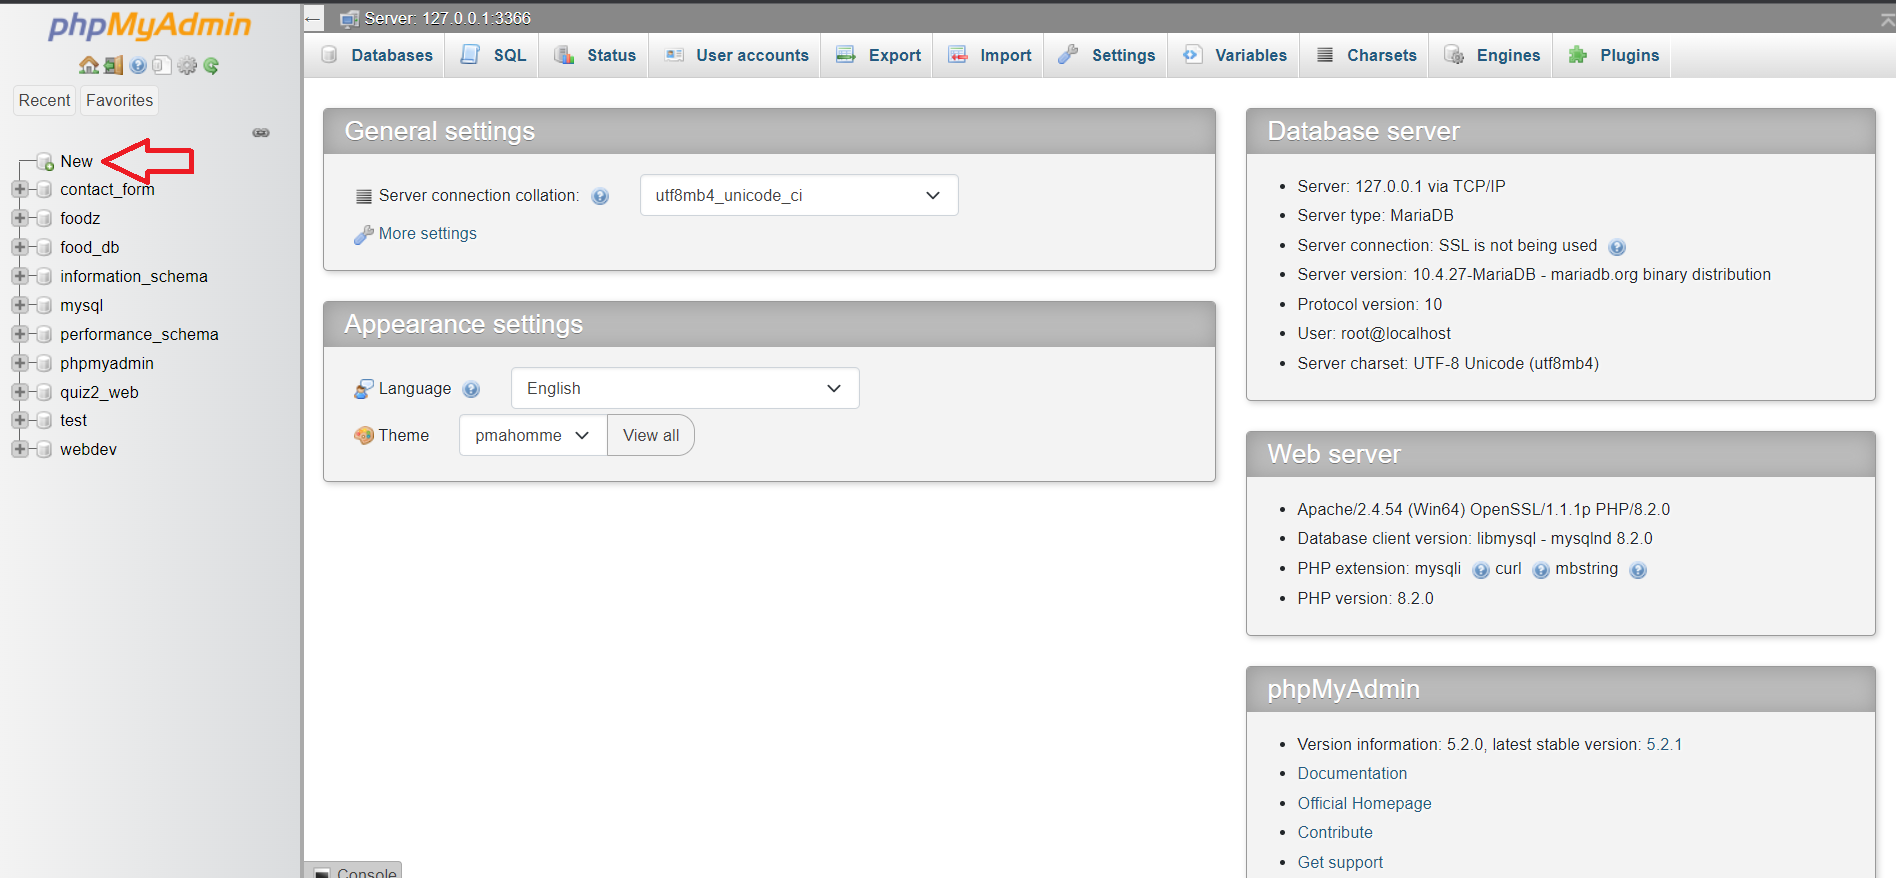
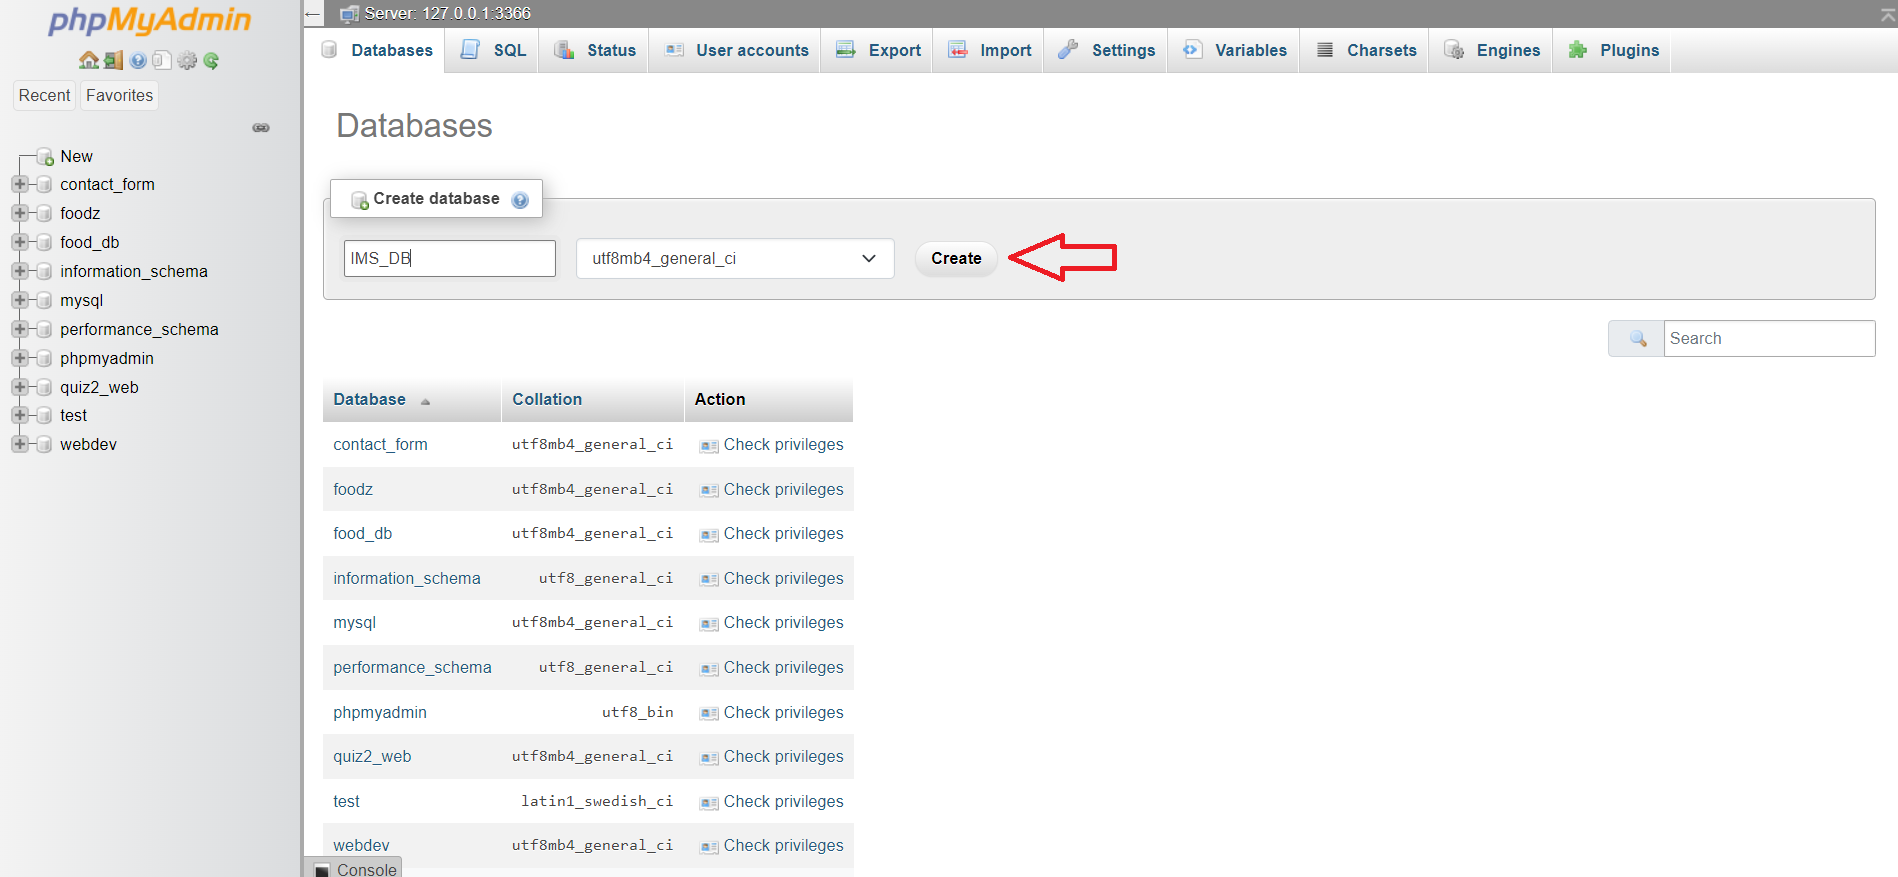
On the phpMyAdmin page, we click on the new button to create a new database.
We give the database a name and click on the create button.
III. Create a table
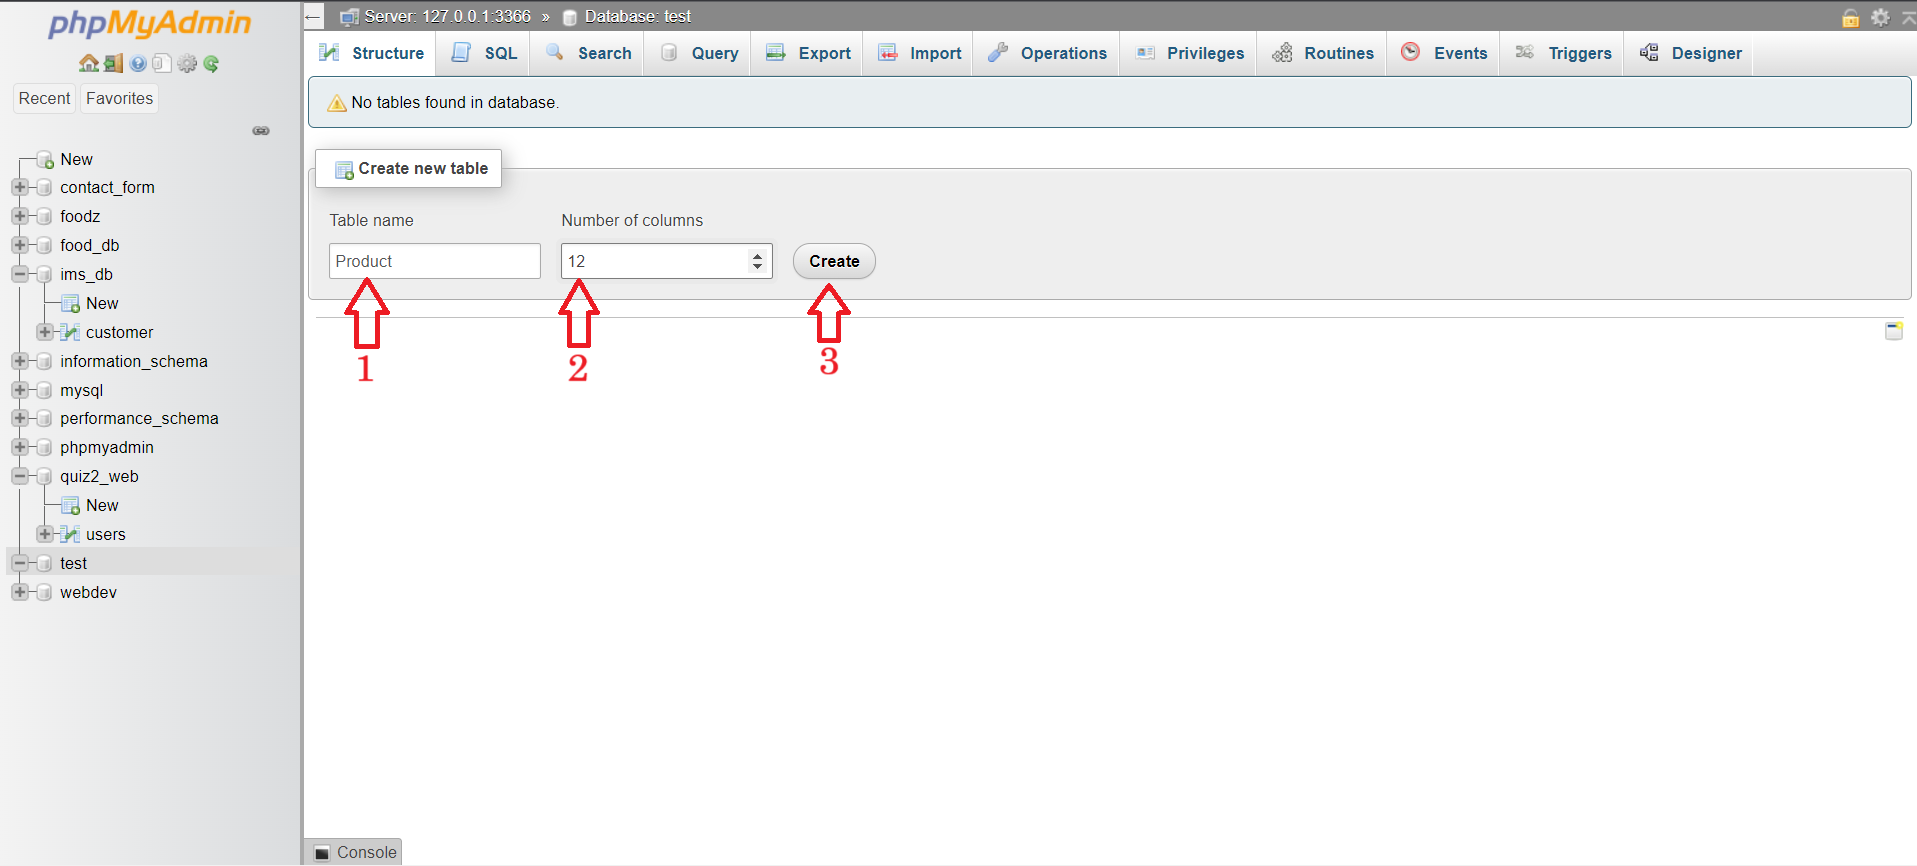
On the phpMyAdmin page, we click on the database we just created.
Then, we click on the new button to create a new table.
We give the table a name (1), the number of attributes (2) and click on the create button (3).
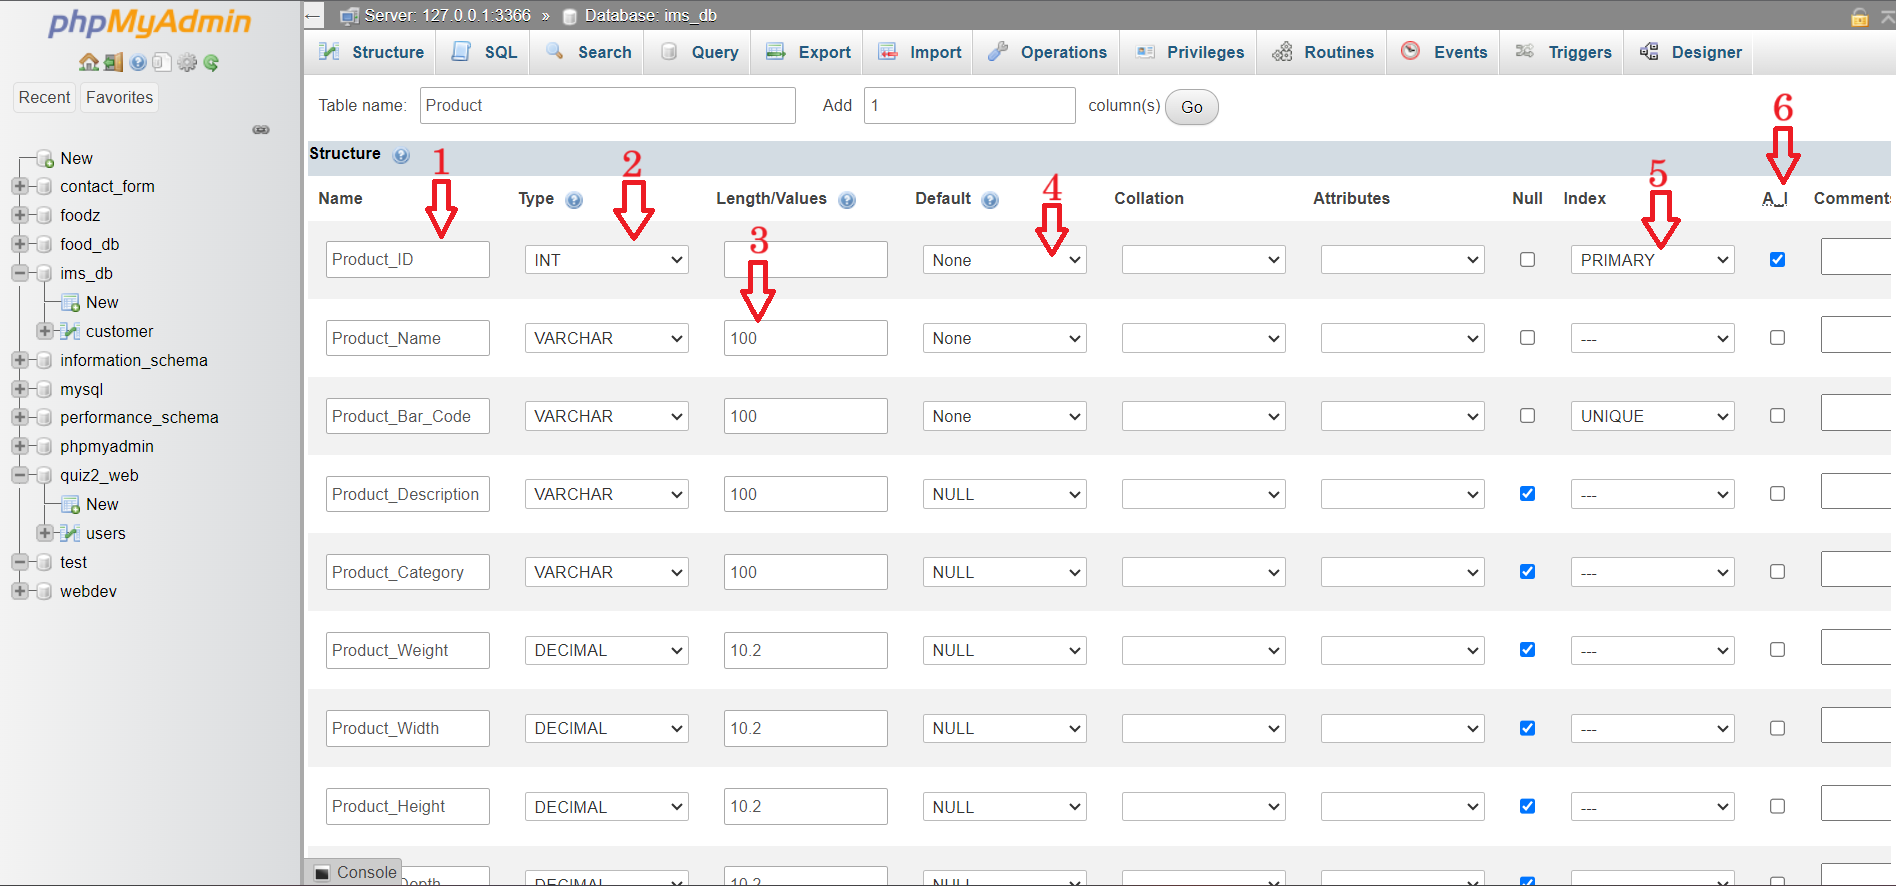
We give the attributes a name (1), a type (2), and a size (3).
We also specify the default value (4), and if the attribute is a primary key (5).
We can also set to auto increment (6) the primary key.
Then, we click on the save button at the bottom of the page.
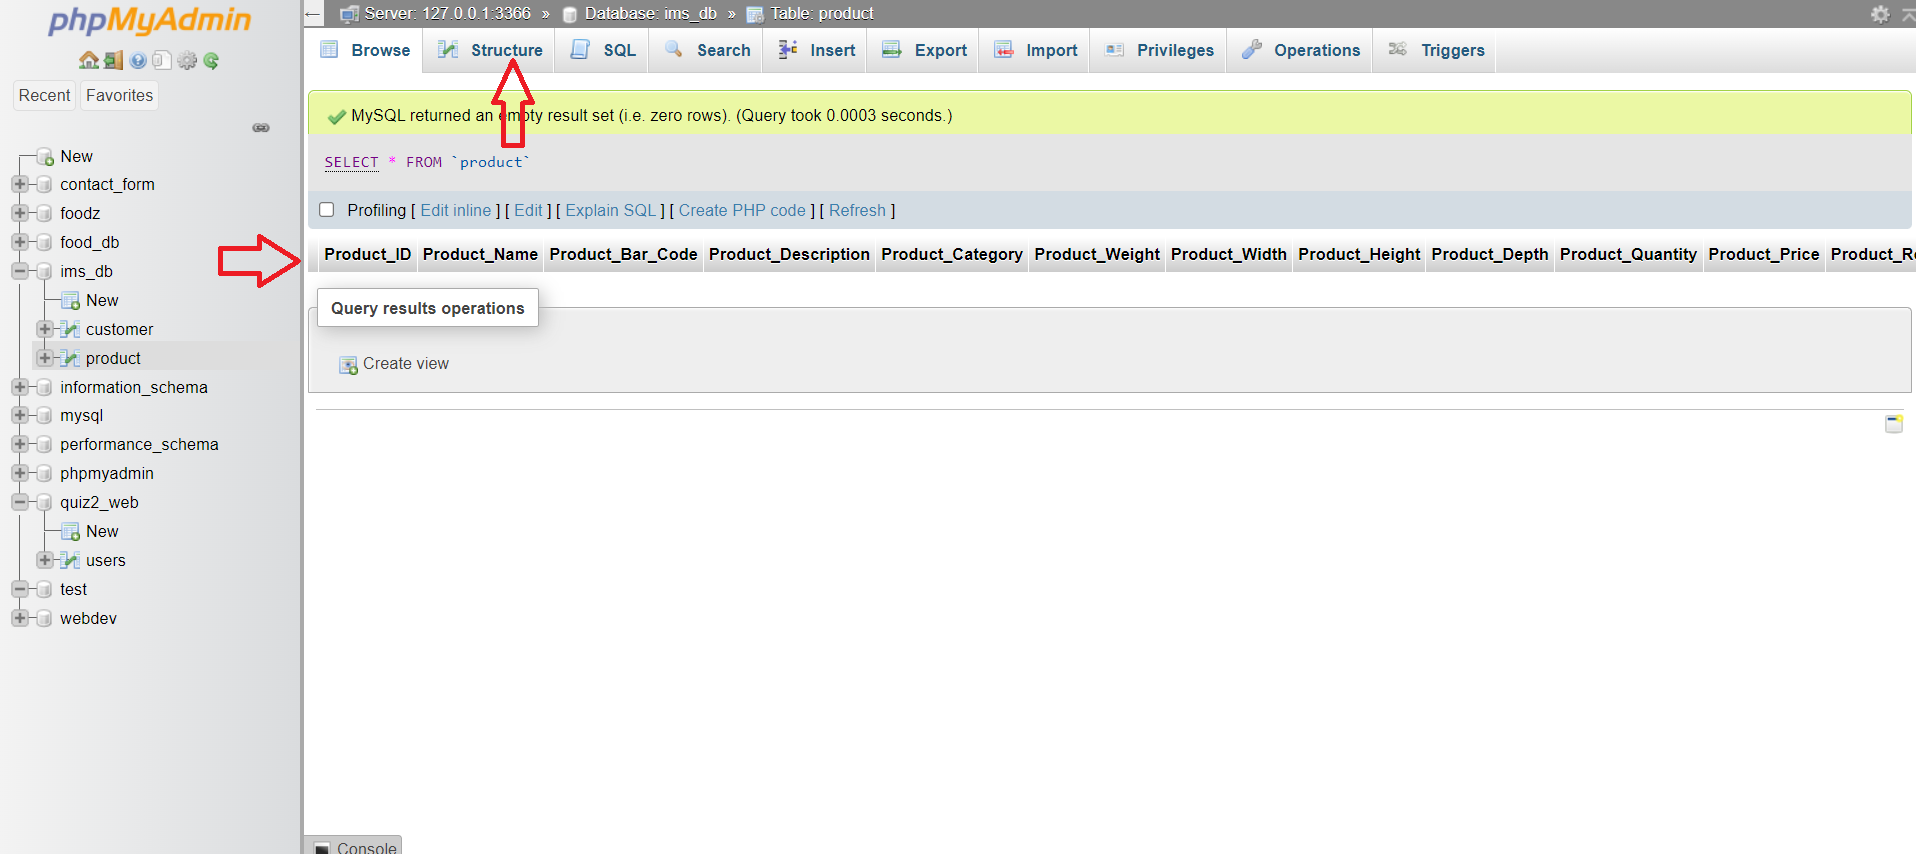
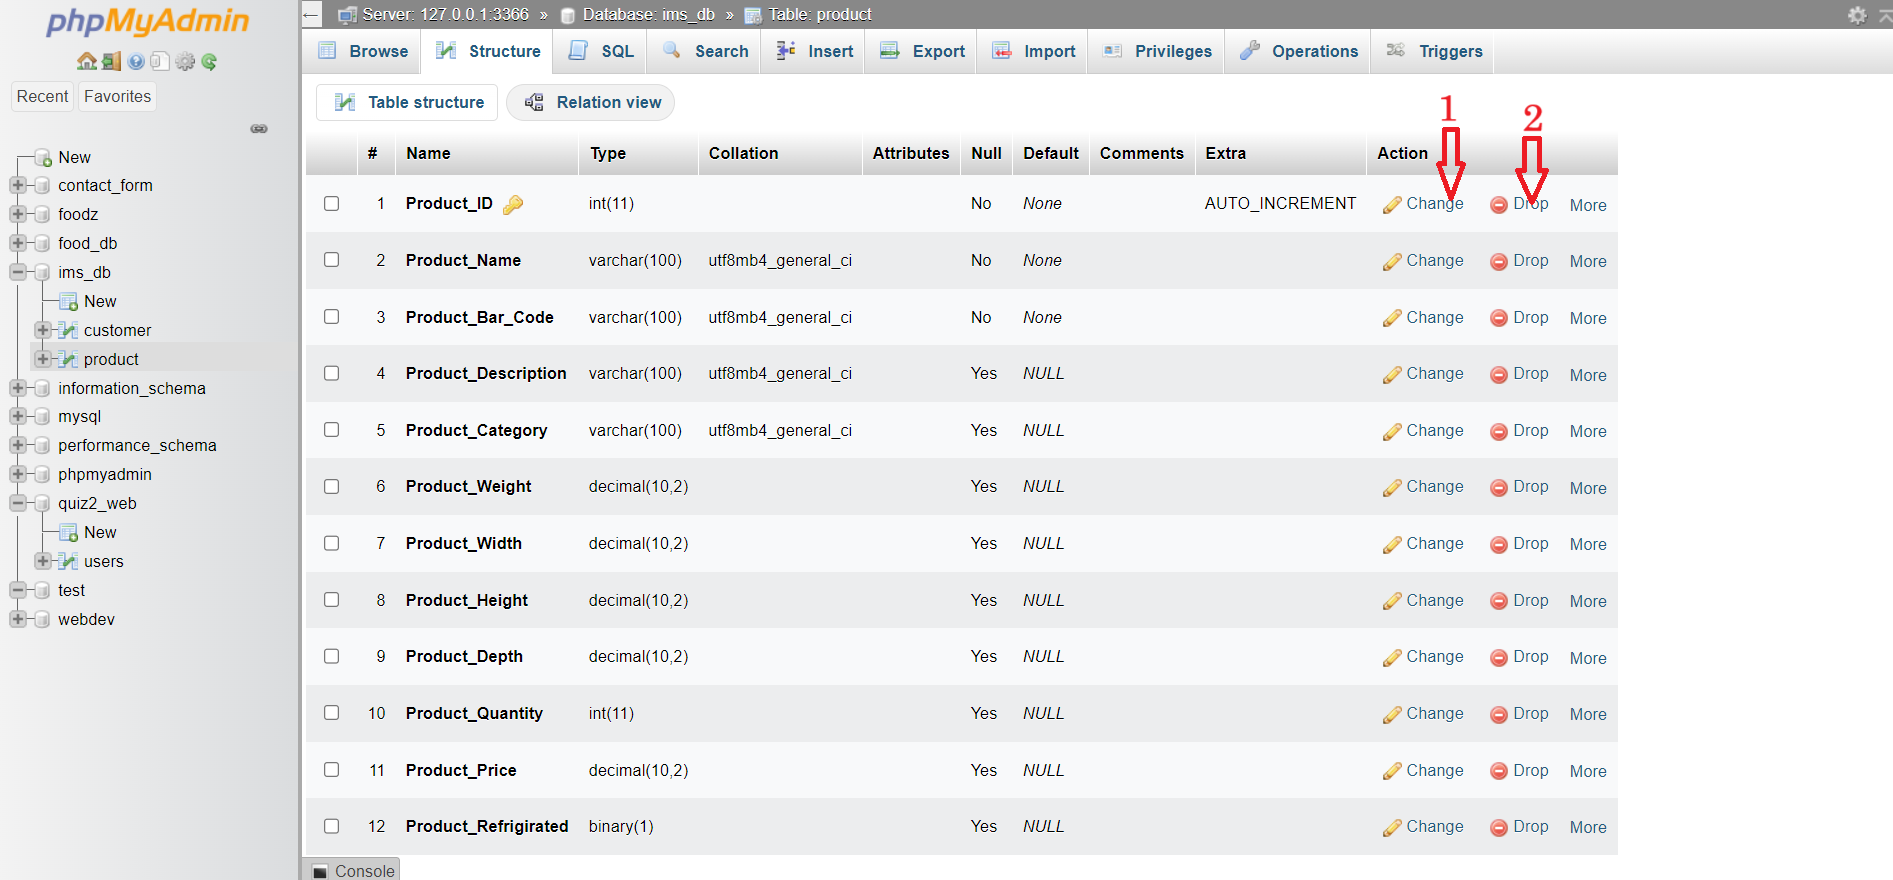
We can also modify any attribute after creating the table.
We click on the structure tab, then on the change button (1) of the attribute we want to modify.
We can delete an attribute by clicking on the drop button (2).
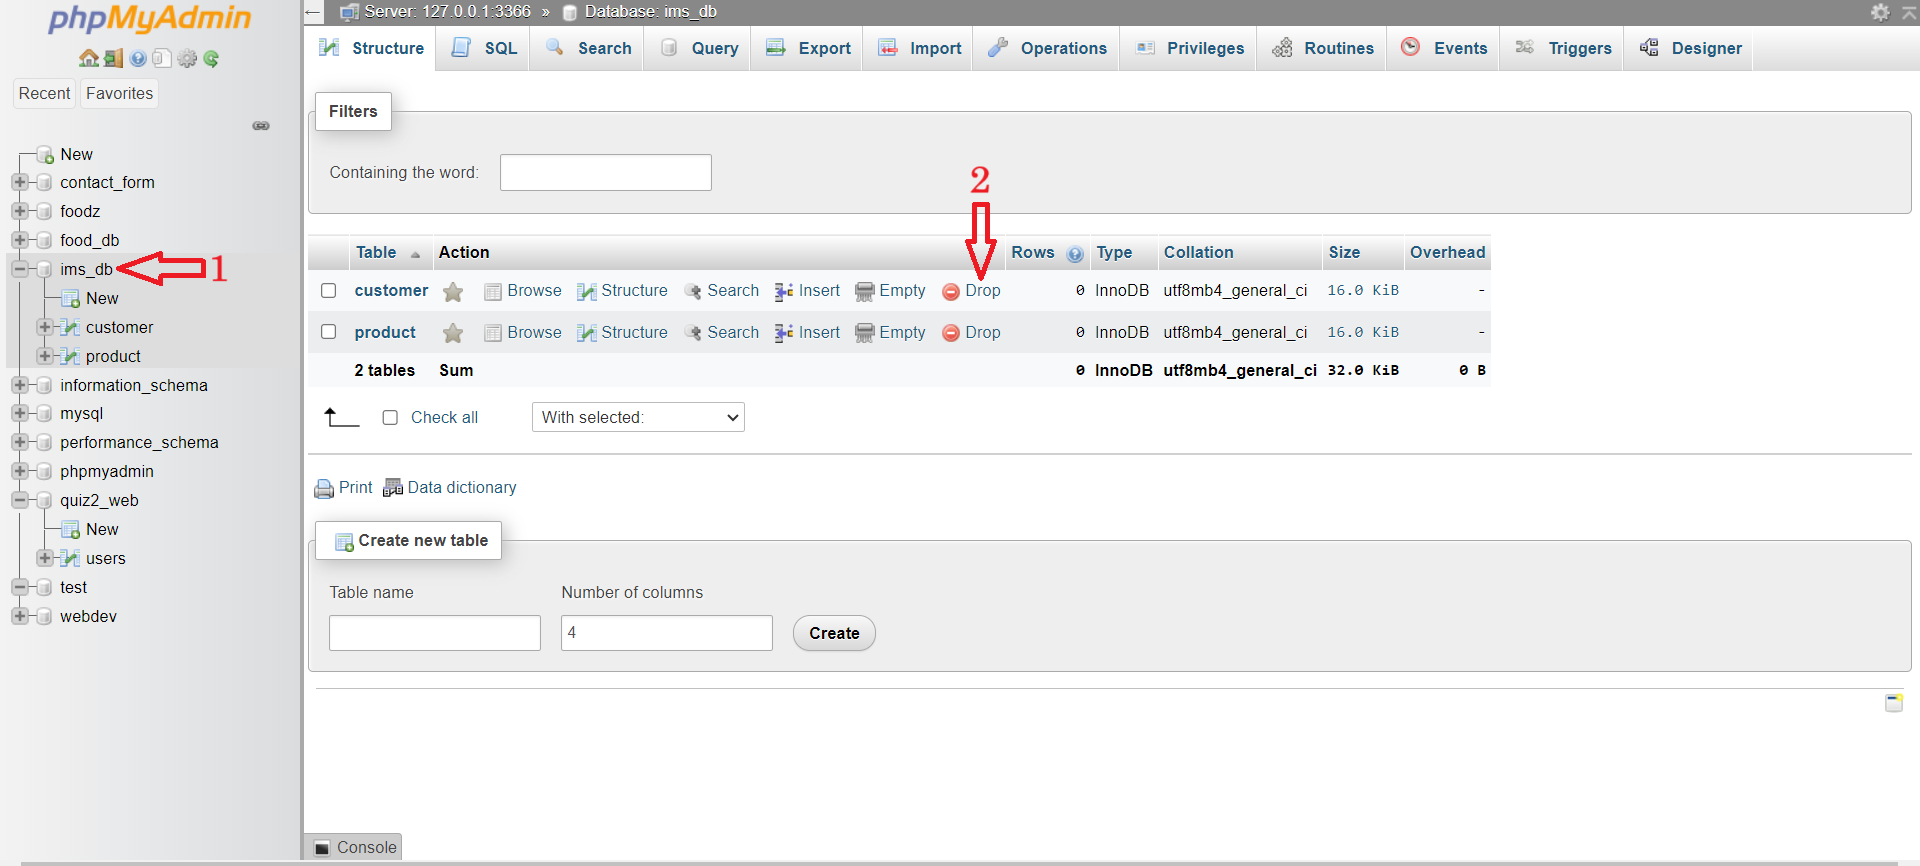
To delete a table, we go back to the database (1) and click on the drop button (2) of the table we want to
delete.
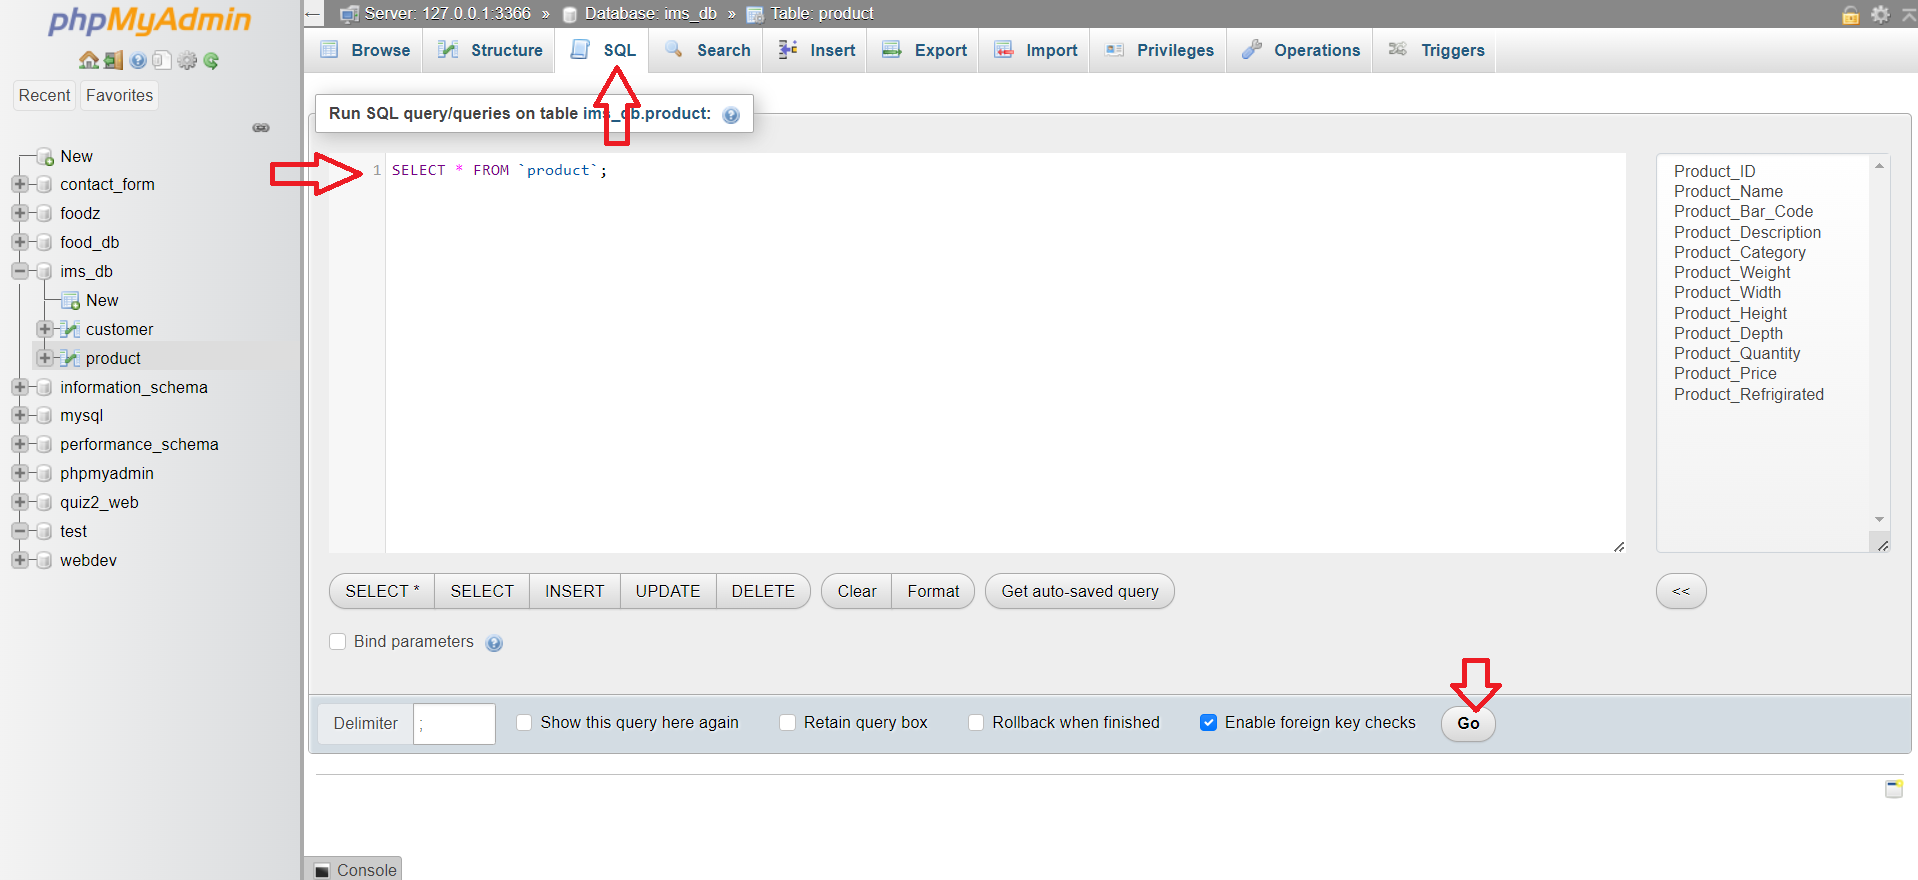
We can use the SQL tab to perform all the tasks we did before.
We can also use it to test our SQL queries before using them in our PHP code.
We have just to write the query and click on the go button.